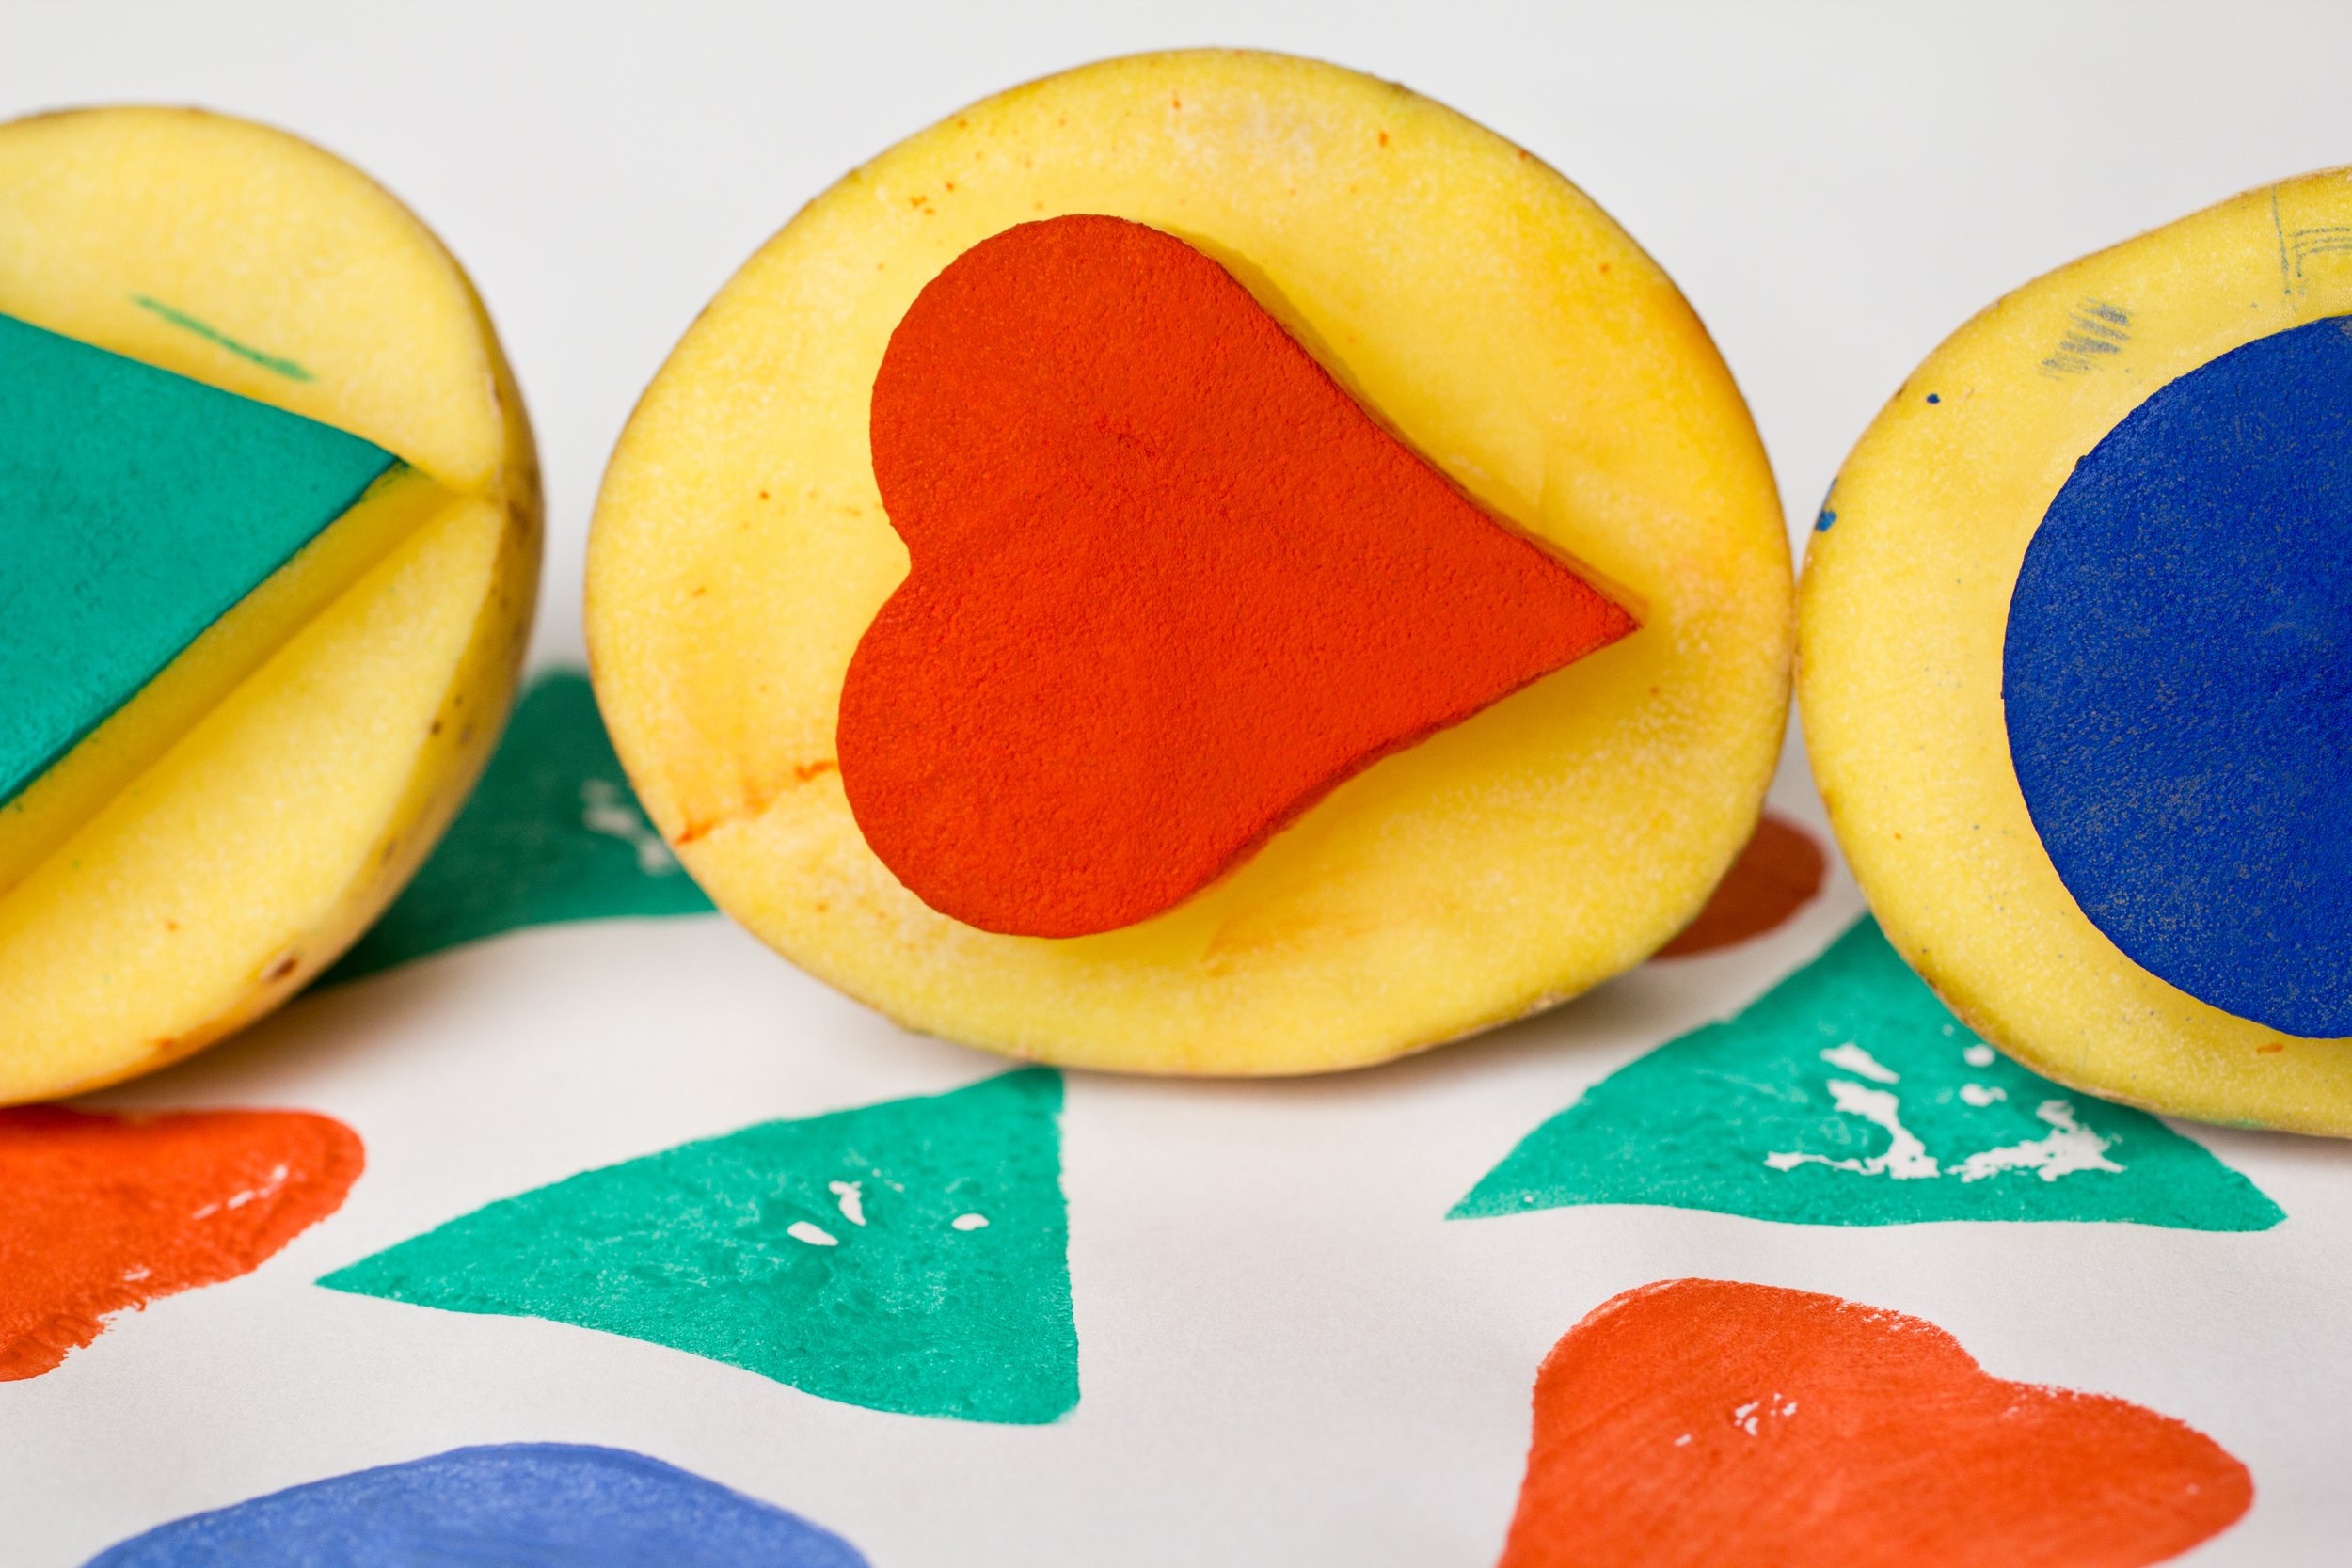
Potato Printing Extravaganza
Introduce children aged 4-10 to the joy of art and creativity through an engaging potato printing activity. This simple and fun project not only enhances fine motor skills but also encourages imaginative expression.
Materials Needed:
1. Potatoes (medium-sized)
2. Craft paper or plain A4 sheets
3. Poster paints or acrylic paints
4. Palette or disposable plates
5. Paintbrushes
6. Kitchen knife (for adult use)
7. Newspaper or an old tablecloth (to protect surfaces)
8. Aprons or old shirts (to protect clothing)
9. Paper towels or wet wipes (for easy clean-up)
Step-by-Step Guide:
Step 1: Prepare the Workspace
Cover the table with newspaper or an old tablecloth. Have your child wear an apron or an old shirt to protect their clothing. Lay out all the materials on the table.
Step 2: Cut the Potatoes
Adults should handle this step. Cut the potatoes in half, creating a flat surface on one side. For safety, cut the potatoes in various shapes, such as circles, stars, or squares. These will serve as the stamps for printing.
Step 3: Create Potato Stamps
Using the cut potatoes as stamps, carve simple shapes or patterns on the flat surface. Encourage your child to get creative – they can make animals, flowers, or abstract designs. The carved part will be the raised area that gets inked for printing.
Step 4: Set Up the Paint Station
Squeeze different colors of poster or acrylic paints onto a palette or disposable plates. Have an assortment of paintbrushes ready for additional detailing if desired.
Step 5: Dip and Stamp
Dip the carved side of the potato stamp into the paint, ensuring an even coating. Press the painted side firmly onto the craft paper or plain sheets. Experiment with colors and patterns, and encourage your child to explore the effects of different pressures and angles.
Step 6: Explore Patterns and Colors
Encourage your child to create patterns and mix colors by overlaying different stamps. They can use paintbrushes to add details or connect their potato prints into a cohesive scene.
Step 7: Let the Artwork Dry
Allow the artwork to dry completely. Once dry, you can frame the prints or use them for personalized greeting cards, wrapping paper, or a unique piece of wall art.
Step 8: Reflect and Display
Discuss the artwork together. Ask your child about their favorite part of the activity and what they enjoyed most. Proudly display their creations around the house to showcase their artistic talents.
This potato printing activity not only provides a creative outlet but also offers a wonderful opportunity for quality bonding time between parents and children. Enjoy the artistic journey together!
