
Making a Treasure Map at Home
Embarking on a treasure hunt is an exciting adventure that ignites children's imagination and creativity while promoting problem-solving and teamwork skills. Creating a treasure map together at home is a wonderful way to spark your child's sense of adventure and foster family fun. With just a few household materials, you can embark on a thrilling quest for hidden treasure. Here's how to make a treasure map with your children:
Materials Needed:
1. Large piece of paper or cardboard
2. Pencil or pen
3. Crayons, markers, or colored pencils
4. Household items for "aging" the map (e.g., tea bags, coffee grounds)
5. Optional: Scissors, glue, decorative elements (e.g., stickers, sequins)
Instructions:
1. Plan Your Treasure Hunt:
Decide on the location of your treasure hunt, whether it's indoors or outdoors. Choose a space that offers plenty of opportunities for hiding clues and treasures.
2. Create the Map Layout:
Use a large piece of paper or cardboard as the base for your treasure map. You can use plain white paper or repurpose the backside of wrapping paper or an old poster.
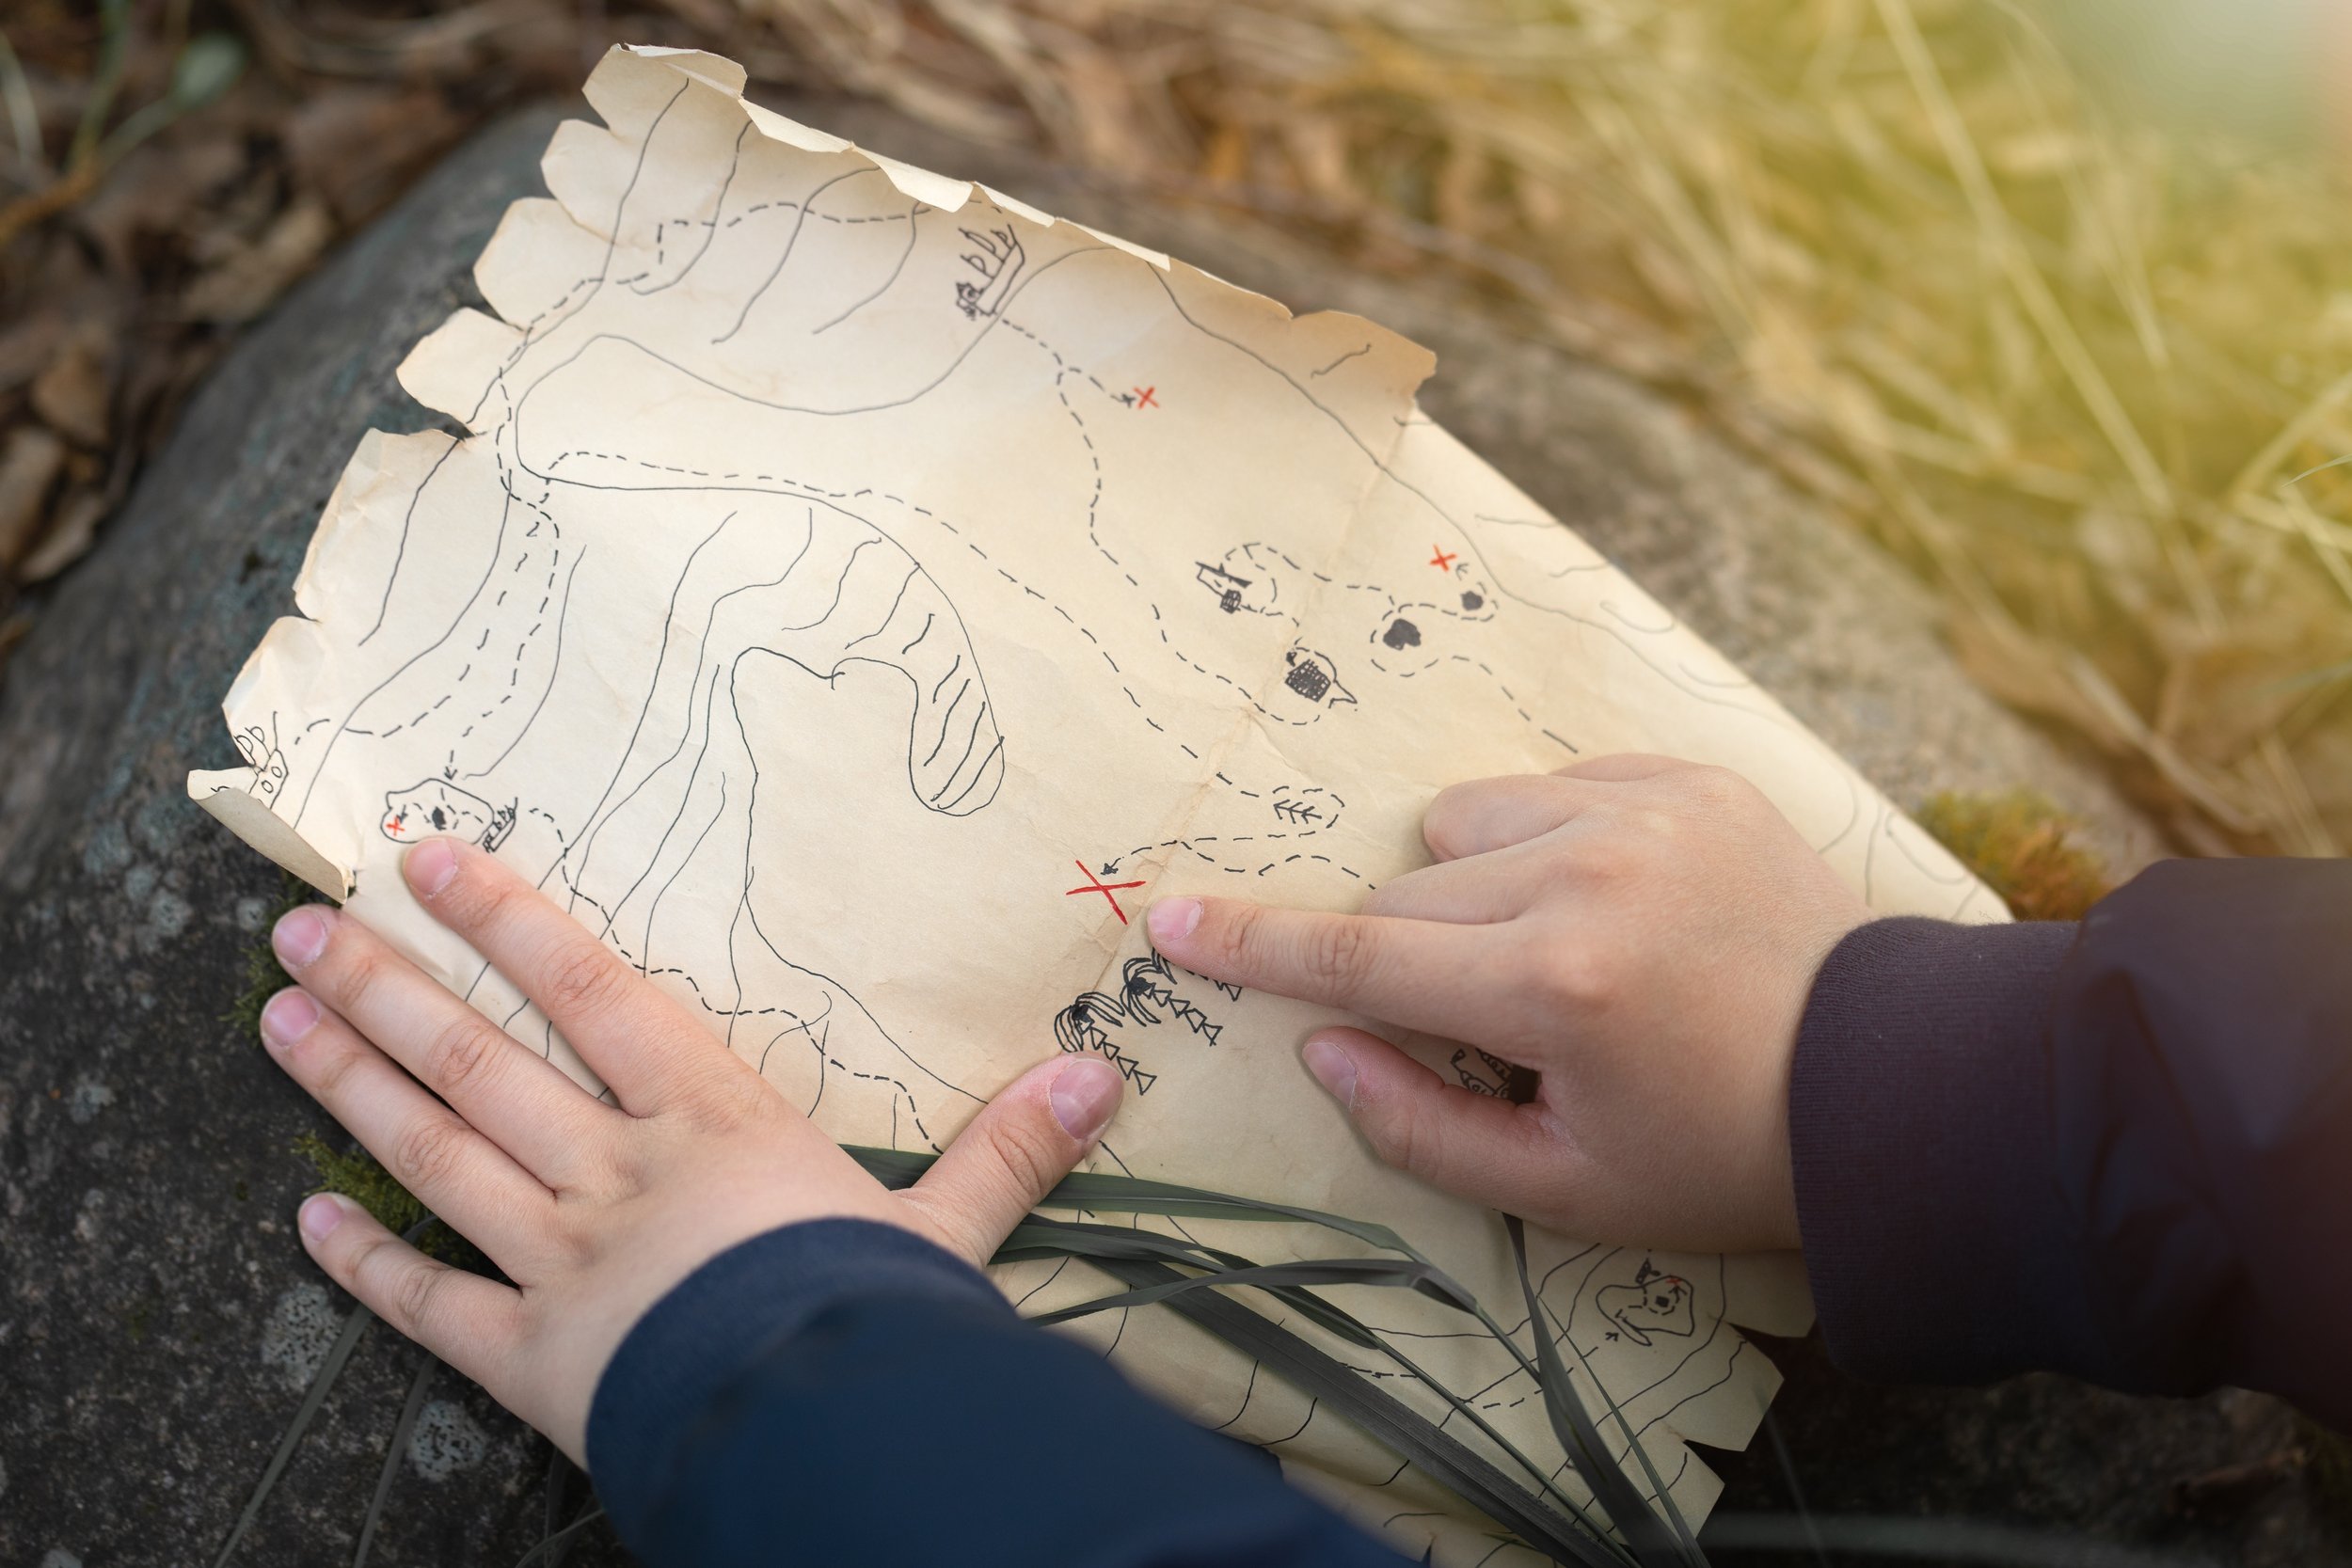
Sketch out the layout of your treasure map, including landmarks, terrain features, and any obstacles or challenges the treasure hunters may encounter.
3. Draw the Details:
Use a pencil or pen to draw the details of your treasure map, such as trees, mountains, rivers, and paths. Encourage your children to contribute their ideas and imagination to the map.
Add symbols or icons to represent the locations of hidden treasures, clues, or obstacles along the treasure hunt route.
4. Add Color and Decorations:
Use crayons, markers, or colored pencils to add color and detail to your treasure map. Enhance the map with vibrant colors and decorative elements to make it visually appealing.
Encourage your children to get creative and add their own decorative touches to the map, such as drawings of pirate ships, sea monsters, or secret passages.
5. "Age" the Map (Optional):
To give your treasure map an authentic, aged look, use household items like tea bags or coffee grounds to stain the paper. Simply brew a strong cup of tea or coffee, dip a cotton ball or brush into the liquid, and lightly dab or brush it onto the paper. Let it dry completely before continuing.
You can also crumple the paper or tear the edges to create the appearance of wear and tear.
6. Hide Treasures and Clues:
Once your treasure map is complete, hide treasures and clues at various locations around the designated area. Use small items like coins, beads, or toy gems as treasure, and write or draw clues on separate pieces of paper to lead treasure hunters from one location to the next.
7. Embark on the Treasure Hunt:
Gather your children and present them with the treasure map. Explain the rules of the treasure hunt and encourage them to work together to solve the clues and find the hidden treasures.
As the treasure hunters follow the map and uncover clues, cheer them on and celebrate their successes along the way.
Tips:
Tailor the difficulty of the treasure hunt to the age and skill level of your children. Make the clues and challenges age-appropriate to ensure an enjoyable experience for everyone.
Encourage teamwork and collaboration by assigning roles to each participant, such as navigator, clue solver, or treasure keeper.
Use the treasure hunt as an opportunity to teach valuable lessons about problem-solving, communication, and perseverance.
Creating a treasure map at home is a thrilling and memorable activity that encourages creativity, teamwork, and outdoor exploration. Enjoy the adventure together as a family and treasure the memories you make along the way.
Happy treasure hunting!